


The same bike frame size can often fit riders whose heights differ by 15 to 20 centimeters. At first glance, that sounds like a generous range, but it hides a crucial detail: if the saddle height and angle aren't properly adjusted, riders can quickly run into problems—knee pain, back strain, or a noticeable drop in pedaling efficiency. That's why learning how to fine-tune your saddle is the very first step every rider should take. Get it right, and you'll not only enjoy more comfort and better power transfer, but also extend the overall riding experience of your electric bike.

Two Ways to Find the Right Saddle Position
Saddle Height
Heel Method Sit on the bike and place your heel on the pedal. At the lowest point of the pedal stroke, your leg should be just straight. Since you normally pedal with the ball of your foot, this setup ensures that when riding, your knee will naturally bend around 25°–35°—a safe and efficient angle that also feels very intuitive. One thing to note: with your heel on the pedal, balance is harder to maintain because your leg is fully extended and the bike is stationary. To avoid tipping over, it’s best to do this next to a wall or with someone holding the bike steady.
Ride & Feel Method Set your saddle to a height you think is about right, then ride for 5–10 minutes and listen to your body.
-
Tightness or pain in your knees → saddle too low.
-
Hips rocking side to side → saddle too high. This method takes a few attempts but works well if you have some riding experience. When pedaling feels smooth and powerful without strain, you’ve found the sweet spot—just enjoy the ride.
LeMond Method Measure your inseam (crotch to floor) and multiply by 0.883 to get the recommended saddle height (measured from the center of the bottom bracket to the top of the saddle). This formula was developed by Tour de France champion Greg LeMond, based on extensive data from pro riders. It’s precise and helps protect your knees while maximizing efficiency. Best for long-distance or performance riders, but it does require careful measuring and a bit more setup.
Saddle Angle
-
Everyday commuting: Keep the saddle level or with a slight forward tilt (-1° to -2°). This spreads pressure evenly across your sit bones, reduces back strain, and prevents sliding forward.
-
Long rides / road cycling: A slight forward tilt is often better. With your torso leaning forward, the saddle angle helps relieve pressure in sensitive areas and makes it easier to stay comfortable for hours. But don’t overdo it—too much tilt shifts the strain to your wrists and shoulders.
Tip: Remember that different types of bikes are designed with their own riding positions in mind. A road bike, a mountain bike, and a city commuter all have different defaults. So don’t copy someone else's setup blindly—start with what the manufacturer designed for your bike type, then fine-tune for your personal comfort.
Other Considerations for Adjusting an E-Bike Saddle
Speed and vibration E-bikes typically travel faster and transmit more vibration than regular bikes. This makes the saddle's shock absorption, padding, and fine angle adjustments even more important, as they can significantly reduce pressure in sensitive areas and minimize back fatigue on longer rides.
Bike weight and frequent stops If your model is heavier and requires frequent stopping, starting, or mounting—such as the Fiido T2 fat-tire cargo e-bike, which weighs nearly 40 kg and supports up to 200 kg—setting the saddle too high makes getting on and off much harder. A more practical guideline is to keep the saddle at a height where both forefeet can comfortably touch the ground, or at least one foot can be planted firmly for stability.
Pedal assist riding With pedal assist, the motor takes on much of the work, so your legs don't need to push at full force all the time. This means your saddle height and angle don't need to be set for maximum extension like on a road bike. Instead, aim for a balanced position that prioritizes both comfort and efficiency.
Don't Forget the Handlebars
It's not just the saddle—handlebar height also plays a big role in riding comfort. For a fully optimized riding position, check out How to Raise Bike Handlebars on Fiido E-Bikes so you can fine-tune both saddle and bars together for the best overall posture.

E-Bike Saddle Adjustment Steps
Height Adjustment
-
Most bikes, including Fiido e-bikes, come with a quick-release clamp on the seat post. Simply flip it open, slide the saddle up or down to the desired height, then lock it back into place.
-
If your bike uses a bolt clamp (common on entry-level or older models), you'll need an Allen key or open-end wrench to loosen the seat clamp bolt, adjust the height, and then tighten it securely.
Angle Adjustment
-
The saddle clamp usually has one or two fixing bolts underneath.
-
Use a 5mm or 6mm Allen key to loosen the bolts, tilt the saddle slightly forward or back, then re-tighten evenly to lock the angle in place.
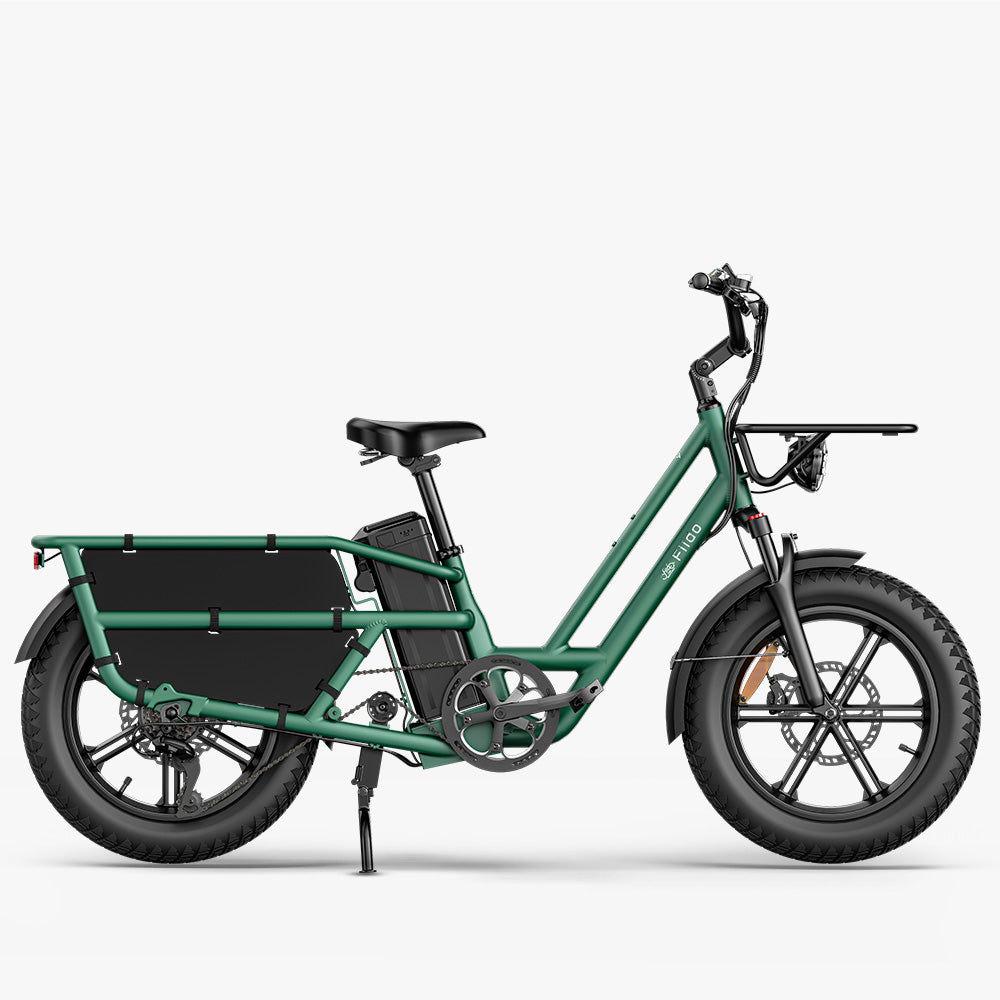
T2 two-seater E-bike
Equipped with a sturdy rear rack, can carry up to 80kg
Reminder: Prices are subject to the product detail page ,some earlier card details may have been updated.
Balance Between Efficiency and Body Protection
Getting your saddle position right isn't just about comfort—it's also about long-term health. The correct height and angle can ease pressure on the knees and help prevent inflammation, while a well-placed saddle reduces strain on your back and neck, making every ride feel more natural. At the same time, a scientific setup improves pedaling efficiency, turning more of your effort into forward motion and cutting down on wasted energy.


